You bought a new soundbar, shiny and promising. You plug it into your TV, excited for cinematic sound, only to be met with muffled dialogue or tinny music. Or maybe your trusty speakers, after years of service, just don’t sing like they used to. Improving sound quality at home doesn’t require an audiophile’s deep pockets or a degree in acoustics. It often boils down to understanding a few basic principles and making small, smart adjustments. This article will guide you through common pitfalls and practical solutions for getting the best sound from your everyday home audio setup.
Placement Perfection: Where Your Speakers Truly Belong
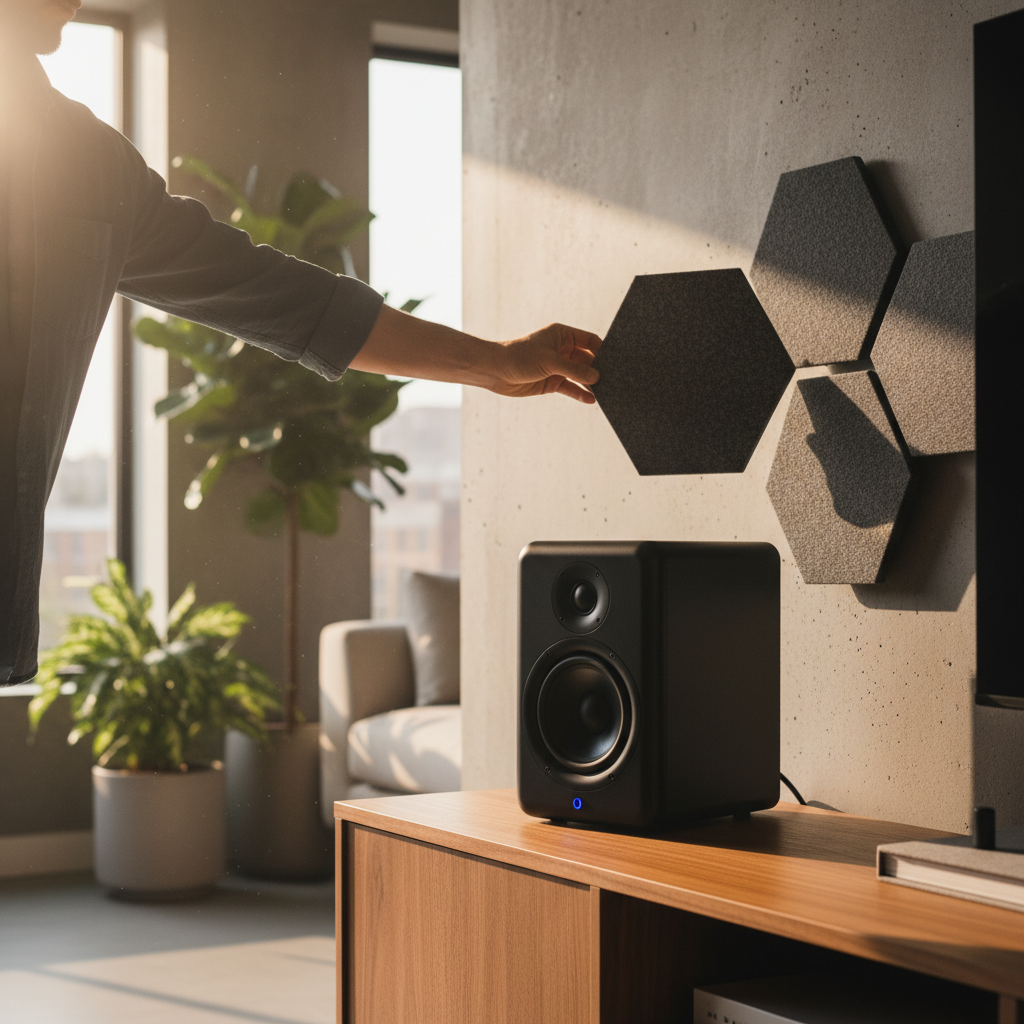
The biggest, yet often overlooked, factor in sound quality is speaker placement. Simply throwing speakers onto any available surface rarely yields optimal results. For stereo speakers, envision an equilateral triangle between the two speakers and your primary listening spot. Each speaker should be angled slightly inward, pointing towards you. This “toe-in” helps create a more focused soundstage, making instruments and voices sound like they’re coming from specific locations. Keep speakers away from corners or flush against walls if possible, as this can exaggerate bass frequencies, making sound muddy and indistinct. If you have a soundbar, place it directly below your TV, centered, and aim to keep it clear of any obstructions that might block sound waves. Even a small piece of décor in front of a speaker can noticeably degrade sound quality.
Cable Connection Clarity: The Right Wires for the Job
Often, sound issues stem from incorrect or inadequate cabling. For most modern TVs and soundbars, an HDMI ARC (Audio Return Channel) or eARC (Enhanced Audio Return Channel) connection is your best bet. Look for the HDMI port on your TV explicitly labeled “ARC” or “eARC” and connect it to the corresponding port on your soundbar. This single cable carries both video and audio, simplifies remote control functions, and generally offers the best sound quality. If your TV or soundbar lacks ARC/eARC, an optical audio cable (TOSLINK) is the next best option. It’s a thin cable with square connectors that transmits digital audio. Avoid using analog RCA cables (red and white plugs) unless absolutely necessary, as they can be more susceptible to interference and deliver lower fidelity. Always ensure cables are firmly seated in their respective ports; a loose connection is a common culprit for crackling or no sound at all.
Tuning Your Tech: Basic Settings for Better Audio
Once your speakers are placed and connected, dive into your TV and audio device settings. On your TV, look for audio output settings. Ensure it’s set to “External Speakers” or “Soundbar” rather than “TV Speakers.” Also, check for audio format settings. For most setups, “Dolby Digital” or “DTS” (if available) will provide the best surround sound experience, though “PCM” (Pulse-Code Modulation) is a reliable default for stereo sound. On your soundbar or receiver, explore pre-set sound modes like “Movie,” “Music,” or “Dialogue Enhance.” Experiment with these to find what sounds best for different content. Many audio devices also offer basic bass and treble adjustments; a subtle tweak here can make a big difference without needing complex equalization. Remember that larger rooms might benefit from slightly more bass, while smaller spaces might need less to avoid boominess. Similarly, if dialogue is consistently muddled, a slight increase in treble can improve clarity. Don’t be afraid to experiment, but make small changes and listen carefully for the impact.