Many people dream of amazing sound at home, whether it’s for music, movies, or even just video calls. But often, the sound coming from our TVs, small speakers, or even expensive soundbars falls short. The good news is that you don’t need to be an audiophile or spend a fortune to significantly improve the sound quality of your home audio system. This guide focuses on a common challenge: getting a richer, clearer, and more immersive sound from your existing setup, or making smart choices for a new one, without getting bogged down in complex technical jargon.
Speaker Placement: Your First Free Upgrade
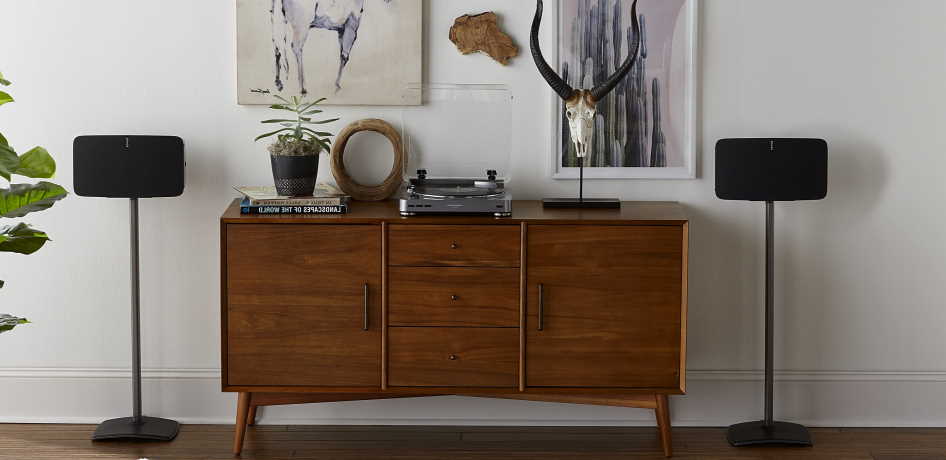
The single most impactful thing you can do to improve sound, often at no cost, is to optimize speaker placement. Think of sound waves like light: they spread out and bounce off surfaces. If your speakers are crammed in a corner, hidden behind furniture, or too far apart, the sound will be distorted, muddy, or unbalanced. For stereo speakers (a left and a right speaker), try to form an equilateral triangle with your main listening spot. This means the distance between the two speakers should be roughly the same as the distance from each speaker to where you sit. Keep speakers away from walls if possible, usually 6-12 inches, to prevent booming bass. Also, try to elevate them so the tweeters (the small speakers for high notes) are at ear height when you’re seated. Even small tweaks here can make a world of difference, clarifying dialogue in movies and adding depth to music.
Wire Wonders: Simple Connections for Clearer Audio
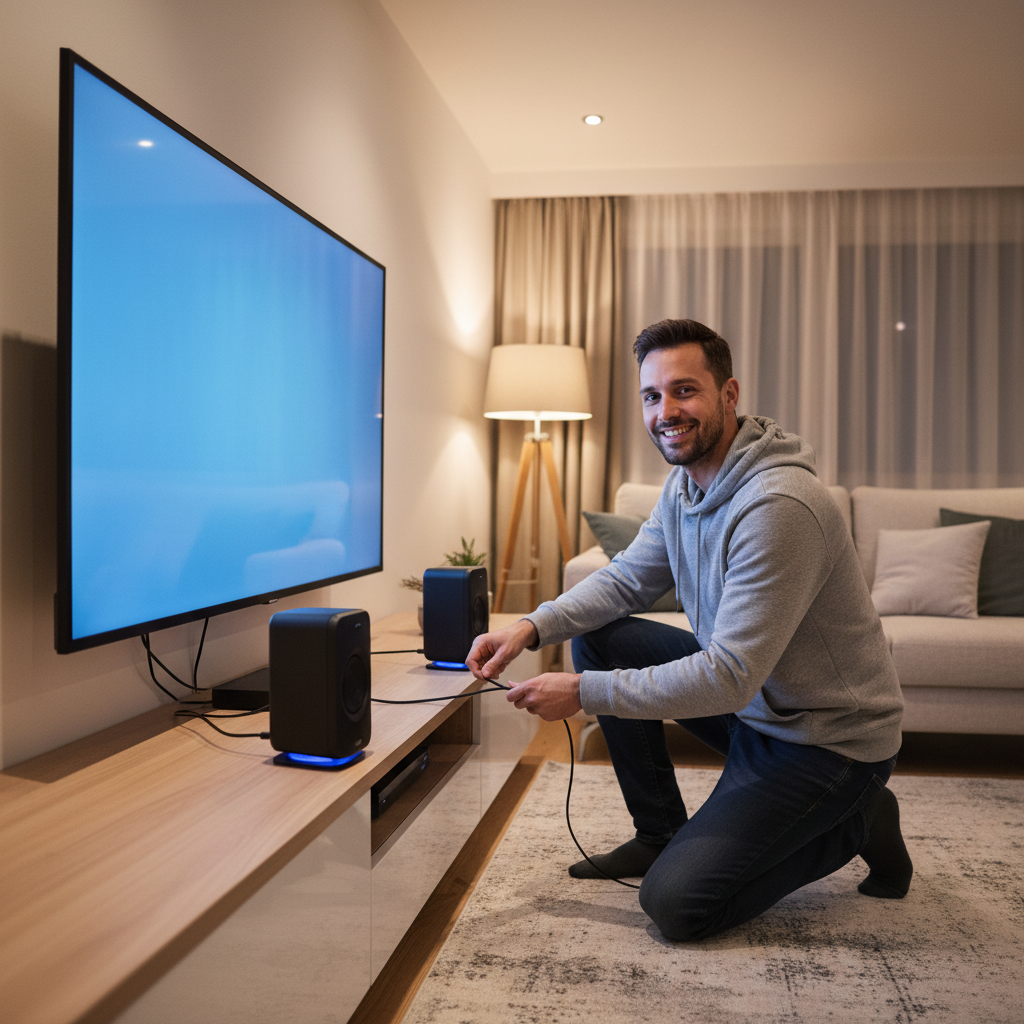
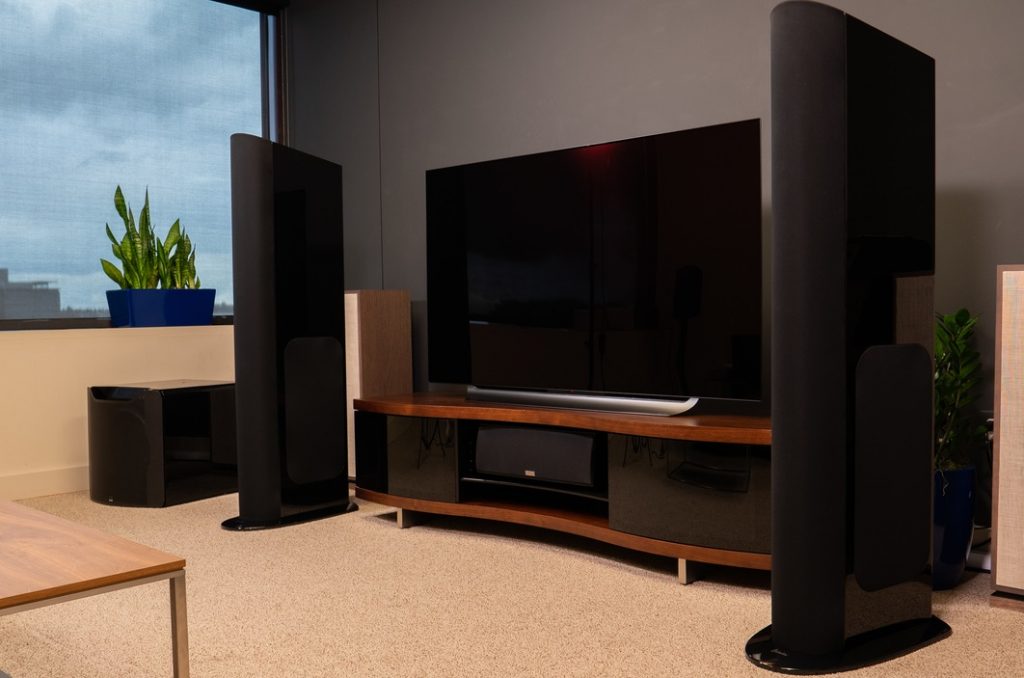
Sometimes, the culprit for poor sound isn’t the equipment itself, but how it’s connected. For connecting your TV to a soundbar or receiver, the **HDMI ARC (Audio Return Channel) or eARC** port is usually the best choice. This single cable can carry both video and high-quality audio, often simplifying your setup and improving sound at the same time. Look for “HDMI ARC” or “HDMI eARC” labels on your TV and soundbar/receiver. If HDMI ARC isn’t available, an **optical digital cable (TOSLINK)** is the next best option for digital audio. Avoid using old red and white RCA analog cables for modern setups if digital options are available, as digital connections generally offer better sound quality and resistance to interference. Always ensure cables are fully plugged in and not kinked or damaged. Checking these connections can often resolve unexpected dips in audio quality or complete sound loss.
Taming Your Room: Simple Room Acoustics for Better Listening
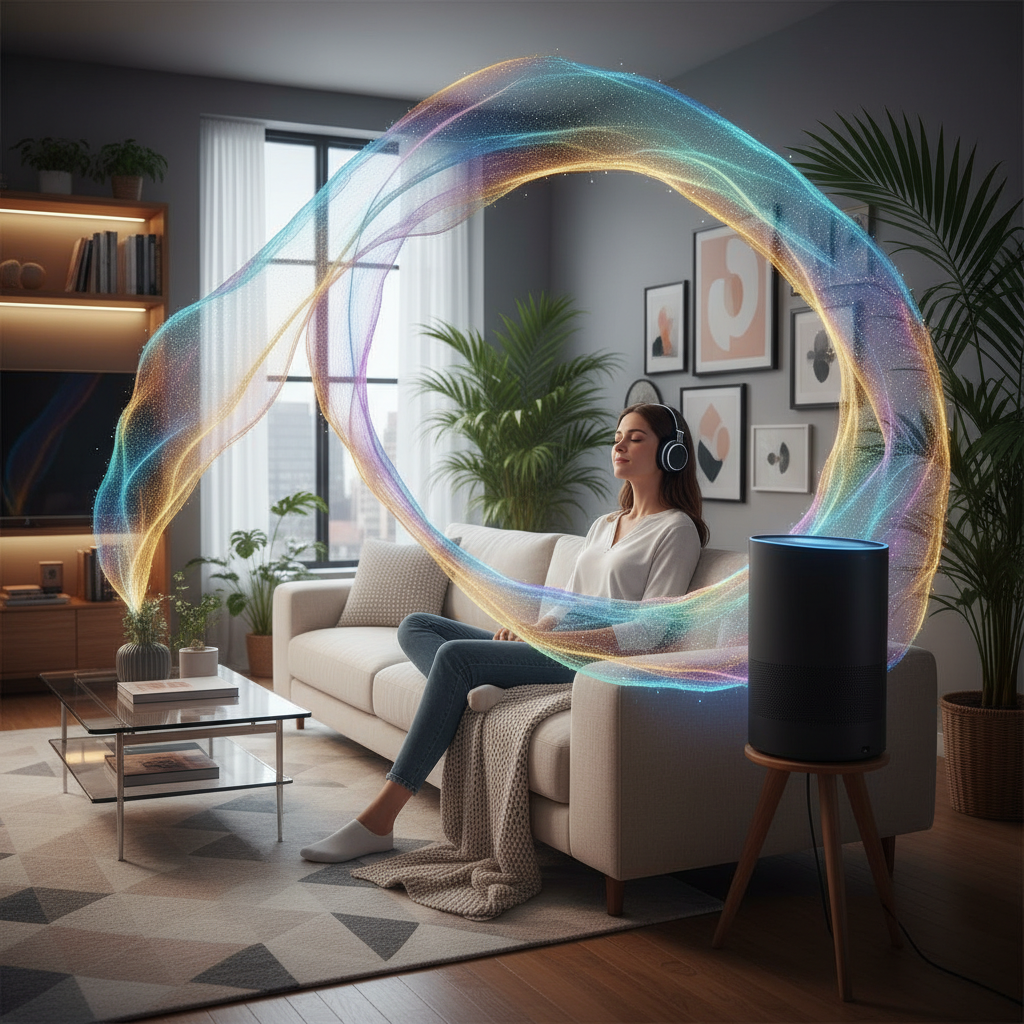
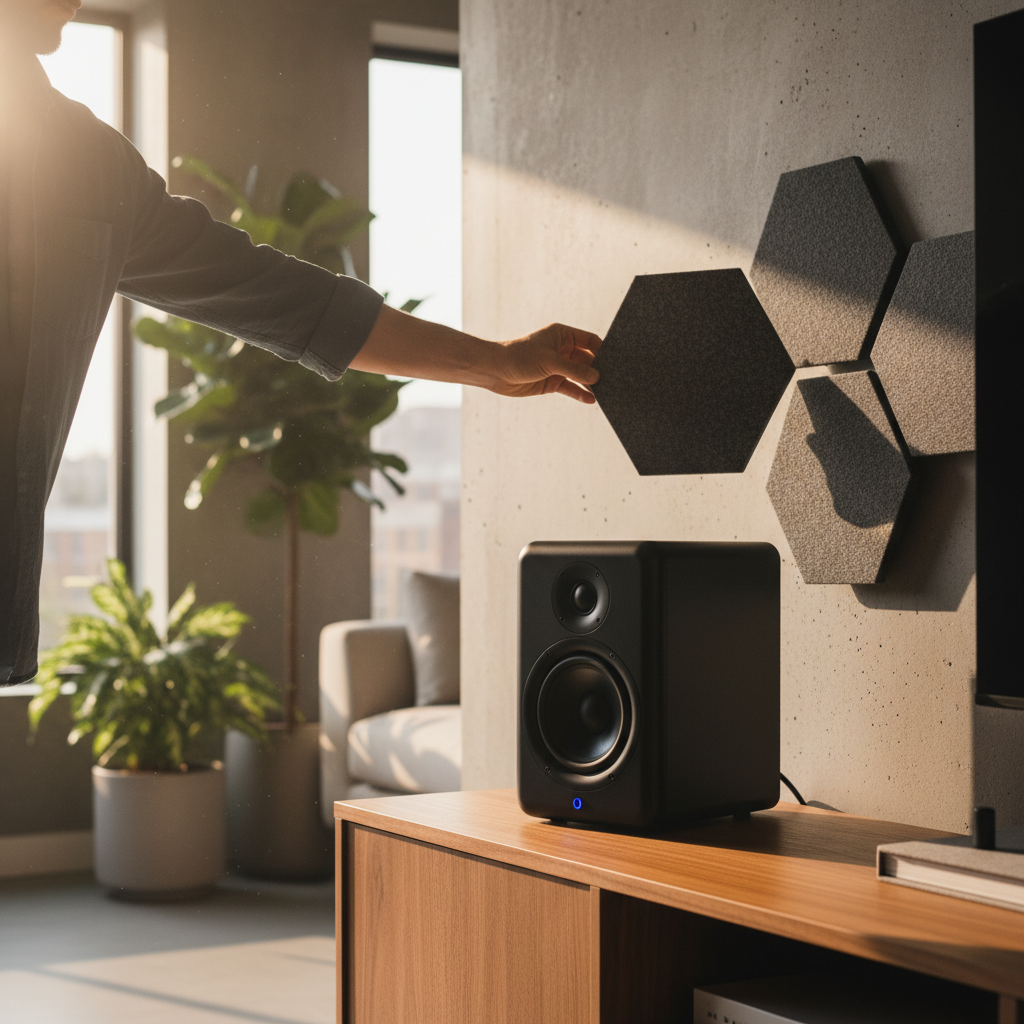
Your room itself plays a huge role in how your audio sounds. Hard, bare surfaces like concrete walls, glass windows, and hardwood floors cause sound to bounce around excessively, creating echoes and making audio sound harsh or muddy. Conversely, too many soft furnishings can absorb too much sound, making the audio seem dull or lifeless. You don’t need a professional acoustic treatment to make a difference. Simple additions like thick curtains, rugs, bookshelves filled with books, or even large pieces of upholstered furniture can help absorb sound reflections, leading to clearer, more natural-sounding audio. Try to break up large, open surfaces with these items. This isn’t about perfectly soundproofing your room, but about creating an environment where sound waves can behave more predictably, allowing your speakers to shine.
Beyond the Basics: Amplifier Power, Volume, and Listening Environment
While speaker placement and connections are your free early wins, understanding a few other points helps you avoid common pitfalls. **Amplifier power** refers to how much “juice” your speakers get. If your amplifier or receiver isn’t powerful enough for your speakers, you might find yourself cranking the volume, leading to distorted sound and potentially damaging your speakers. Most home users won’t need extremely high power, but ensuring your amplifier is a good match for your speakers is key. Second, regarding **volume**, while it’s tempting to blast music, listening at extremely high volumes for extended periods can cause distortion and, more importantly, damage your hearing. Find a comfortable listening level where dialogue is clear and music is enjoyable without straining your ears. Finally, consider your **listening environment**. Are there noisy appliances, open windows to traffic, or other distractions? Minimizing external noise allows you to hear more detail from your audio system at a lower, safer volume, enhancing your overall listening experience. Starting with these practical tips empowers you to significantly improve your home audio, turning a good system into a great one.